

Key Takeaways
- Surface prep - cleaning, patching, and priming - prevents most streaks and drips.
- Cutting in before rolling and working in small sections produces cleaner results.
- Loading your roller correctly and maintaining a wet edge eliminates lap marks.
- Two thin coats outperform one thick coat in every measurable way.
- The right sheen for the room matters as much as the color you choose.
What you will need
Why Technique Matters More Than the Paint Brand
It's tempting to assume that a more expensive paint will automatically produce a cleaner, streak-free finish. In practice, technique and surface preparation account for the vast majority of how a finished wall looks. Professional painters consistently achieve excellent results with mid-range paints - not because they have a secret product, but because they control their tools, maintain a wet edge, and never skip the prep work.
Two specific habits separate a clean result from a frustrating one: working in manageable sections so paint edges stay wet long enough to blend, and loading tools with the right amount of paint - enough to cover, not so much that it sags. Before you open a can, gather everything you need and set the room up properly.
Angled sash brush (2-2.5 inch)
Used to cut in clean lines along ceilings, trim, and corners before rolling.
9-inch roller frame and cover
Applies paint efficiently across large flat wall surfaces.
Extension pole
Attaches to the roller to reach upper wall sections without a ladder and reduces fatigue.
Paint tray and liner
Holds paint and allows you to load the roller evenly without overloading it.
Painter's tape (1.5-2 inch)
Masks trim, switch plates, and window frames to produce clean boundary lines.
Spackle and putty knife
Fills nail holes, dents, and cracks in drywall before painting.
Drop cloth (canvas preferred)
Protects floors and furniture from drips and spills throughout the project.
Sanding block (120-150 grit)
Smooths patched areas and scuffs glossy surfaces so primer and paint adhere properly.
Prepping the Room and Walls
The single most reliable way to avoid visible imperfections in a finished paint job is to address them before any paint goes on. Bumps and ridges in the wall surface become dramatically more visible once they catch light through a uniform paint layer. Dirty or greasy walls cause adhesion failures that show up as peeling or uneven sheen weeks after the job is done.
What you will need
Once the room is set up, follow the steps below in order. Skipping or rushing through prep is the most common reason amateur results look amateur.
Don't Skip the Primer on Bare or Patched Surfaces
Skipping primer over patched drywall, bare wood, or previously stained areas almost always shows through the finish coat as dull spots or bleed-through. A coat of primer seals the surface, gives paint something uniform to bond to, and can actually reduce the total number of finish coats you need - saving both time and paint.
Step-by-Step Painting Instructions
Work through these steps methodically. The order matters - cutting in before rolling, maintaining a wet edge, and applying two coats with proper drying time in between are the non-negotiables that separate a streaky paint job from a clean one.
Clean, patch, and sand the walls
Wash walls with a mild detergent solution and a sponge, paying extra attention to greasy areas near light switches and around doorframes. Let the surface dry fully - at least one to two hours. Fill nail holes and any dents with lightweight spackle, pressing it slightly proud of the wall surface. Once dry (typically 30-60 minutes), sand flush with a 120-grit sanding block. Feather the edges so there's no ridge you can feel with your fingertip.
Apply painter's tape and lay drop cloths
Run painter's tape along the top edge of baseboards, around window and door casings, and at the ceiling line if you're painting walls only. Press the tape down firmly along its inner edge with a putty knife or your fingernail to prevent paint from bleeding underneath. Lay canvas drop cloths across the entire floor and overlap any seams - canvas doesn't shift the way plastic sheeting does and won't become slippery when wet.
Prime bare or repaired surfaces
Apply a coat of primer to any patched areas, bare drywall, or surfaces with visible stains. You don't need to prime the entire wall if it's in good condition and you're not making a dramatic color change. Use the same brush-and-roll technique you'll use for the finish coat. Allow the primer to dry according to the manufacturer's instructions before moving on.
Cut in along edges and corners
Load your angled brush about one-third of the way up the bristles and tap off - don't wipe - the excess against the inside of the can. Paint a band roughly two to three inches wide along the ceiling line, baseboards, inside corners, and around any trim. Work in sections of about four to five linear feet at a time so this cut-in band stays wet when you roll up to it. A dry cut-in edge will show as a visible line - called a lap mark - in the finished wall.
Load and roll the walls in sections
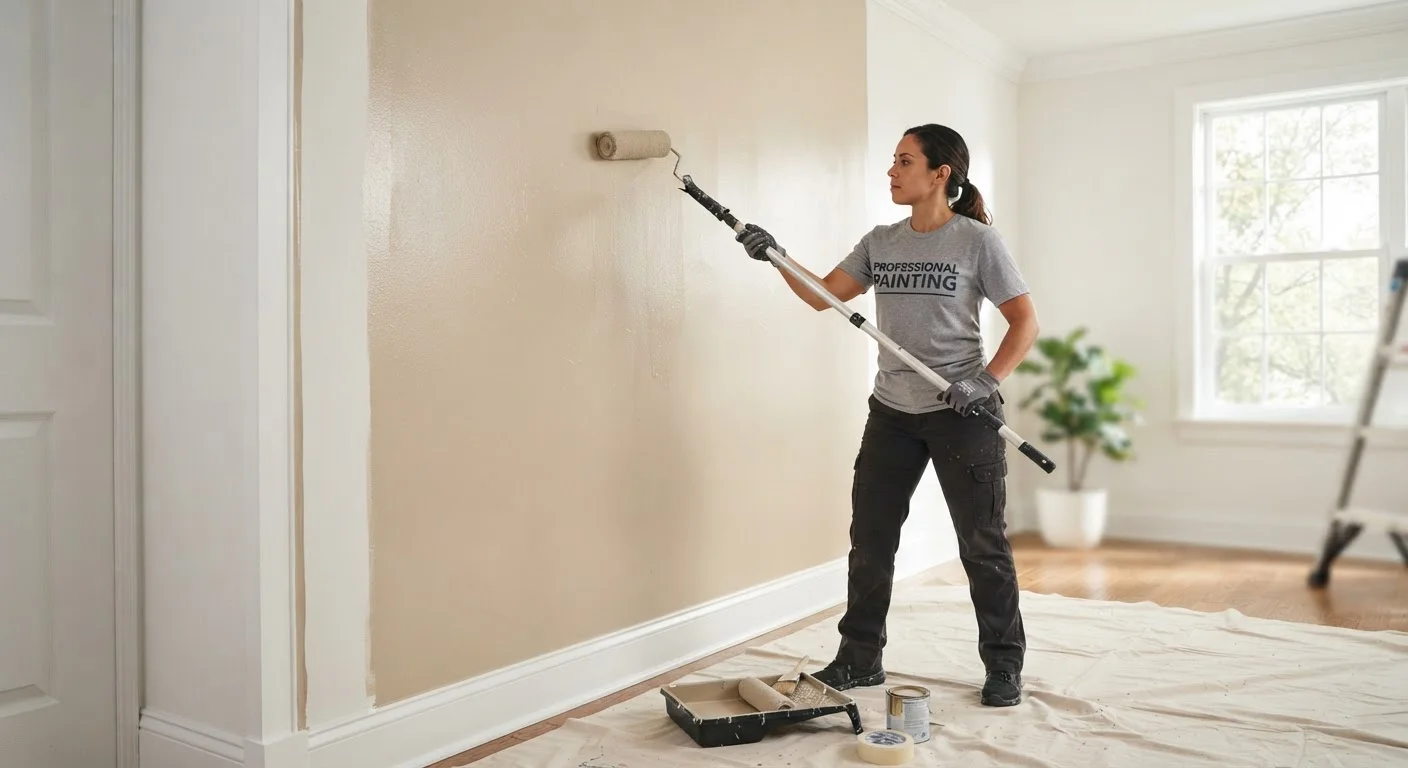
Pour paint into the tray to about one-third depth. Roll your roller into the paint, then roll it back and forth on the ridged ramp several times to distribute paint evenly through the nap - an overloaded roller is the primary cause of drips. Work in roughly three-foot-wide vertical sections. Apply paint in a large W or M pattern first, then fill in with parallel strokes without lifting the roller. Always roll from a dry area into a wet area to avoid lap marks, and maintain a wet edge throughout.
Apply a second coat after full drying
Allow the first coat to dry completely - check the paint can for the recoat window, typically two to four hours for latex paint under normal humidity. Resist the urge to recoat too soon; a partially dry surface will drag and pull when you roll over it, creating texture and streaks. Once dry, apply the second coat using the same cut-in-first, then roll approach. The second coat is where the color truly becomes solid and even.
Keep a Damp Rag Nearby While You Work
Latex paint cleans up easily with water when it's still wet. A damp rag on your hip means you can immediately wipe any drip that hits trim, a switch plate, or the floor before it has a chance to set. Once latex paint cures, it bonds firmly and becomes much harder to remove cleanly.
Common Problems and How to Avoid Them
Streaks and lap marks
These appear when paint at the edge of a section dries before you roll into it. The fix is to work faster in smaller sections, and to always roll from a dry area back into the wet paint - never the other way around.
Drips and runs
Almost always caused by an overloaded roller or brush. If you see a drip forming, smooth it immediately with a lightly loaded brush or roller before it begins to skin over. Once semi-dry, drips need to be sanded out after curing and touched up - a more involved fix.
Missed spots and holidays
These thin or unpainted patches are easiest to catch by viewing the wall from a low angle with a light source raking across the surface. Check each section before moving on, and plan for a second coat regardless - one coat almost never provides adequate, even coverage.
Ventilate Before and During Painting
Interior paints - even low-VOC formulas - release fumes that can build up quickly in enclosed spaces. Open windows and doors, and run a fan directed outward to push fumes outside rather than circulating them. Never paint in a room with a pilot light or open flame, and keep children and pets out until the paint is fully dry and the space has aired out completely.
Paint bleeding under tape
This happens when tape isn't pressed down firmly at the edge. If you notice bleed-through after removing tape, let the paint cure fully (at least 24 hours), then carefully trim the line with a sharp utility knife and touch up with a small brush.