

Key Takeaways
- Skipping subfloor prep is the leading cause of premature flooring failure, including squeaks, cracks, and buckling.
- Moisture problems, high spots, and loose panels must be addressed before any new flooring goes down.
- Correcting subfloor errors after installation typically costs far more than doing the prep correctly upfront.
- Many subfloor issues are DIY-manageable, but structural damage or significant rot requires a licensed contractor.
- A thorough moisture test takes minutes and can prevent thousands of dollars in flooring replacement costs.
Why the Subfloor Is the Foundation Your Floors Can't Ignore
When homeowners budget for a new floor, the cost of materials and labor dominates the conversation. The subfloor - the structural layer underneath - rarely gets attention until something goes wrong. But this hidden layer governs whether your finished floor performs flawlessly or begins failing within a few seasons.
Problems like squeaking boards, grout cracks in tile, warped planks, and soft spots almost always trace back to inadequate subfloor preparation. The frustrating part: the damage is usually invisible until it's expensive. Understanding the specific mistakes that lead here - and how to prevent them - is what separates a lasting floor from a costly redo. As with many home systems, a small investment in preparation prevents a much larger repair later, a principle explored broadly in routine low-cost maintenance tasks.
Skipping a moisture test before installation.
Why it happens: Moisture isn't visible to the naked eye, and homeowners eager to start installation often skip testing because the subfloor looks and feels dry.
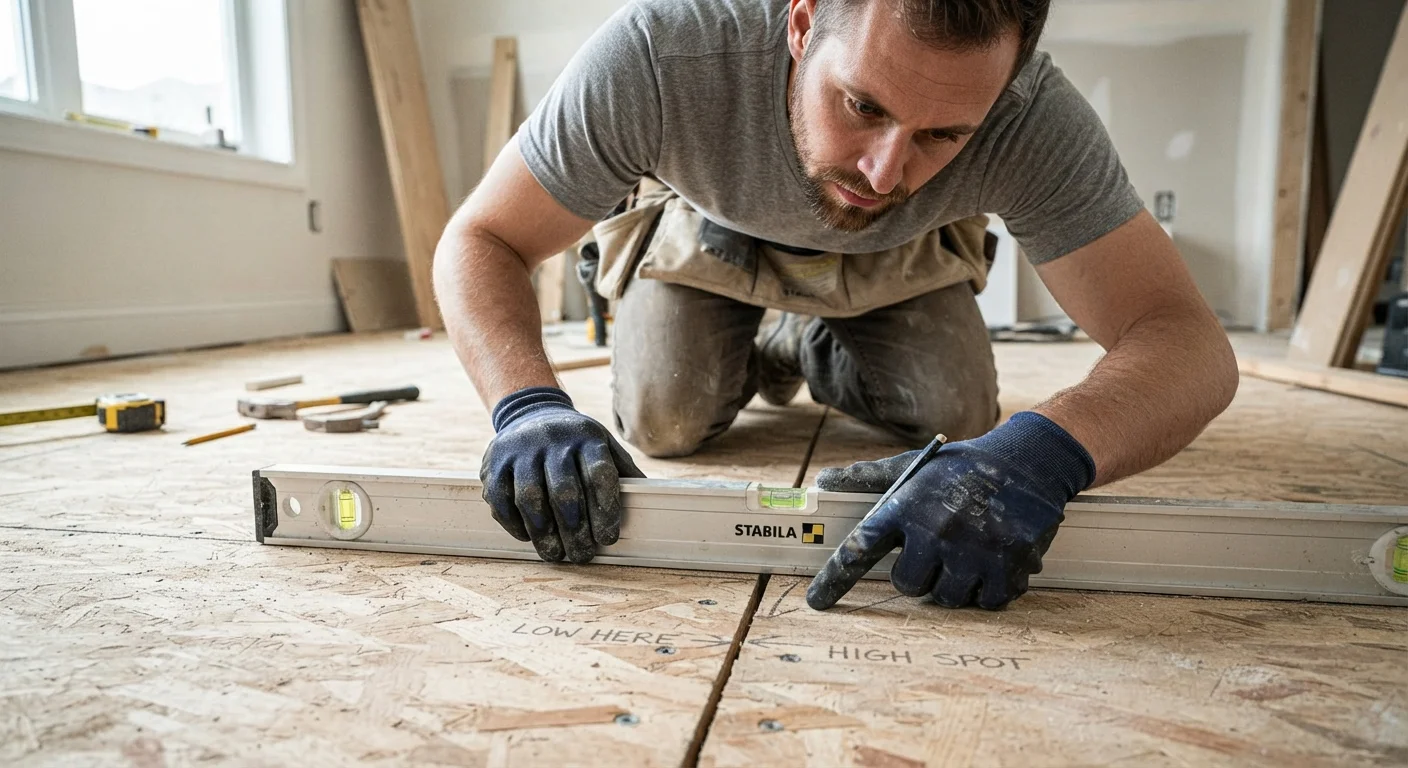
Failing to flatten high spots and fill low spots.
Why it happens: Minor humps and dips feel inconsequential underfoot, so many homeowners assume the flooring material will bridge them without issue.
Ignoring loose or squeaky subfloor panels.
Why it happens: Squeaks seem like a cosmetic nuisance, so they're easy to dismiss - especially when the floor looks structurally sound.
Not allowing new subfloor materials to acclimate.
Why it happens: Homeowners often bring materials home and install them the same day, not realizing that wood-based panels expand and contract with temperature and humidity changes.
Installing over rotted or water-damaged sections.
Why it happens: Rot can be localized and easy to overlook, particularly at the perimeter of a room or near plumbing walls where damage is less obvious.
Skipping a primer or skim coat before installing tile.
Why it happens: Tile adhesive seems strong enough to bond directly to any surface, so the primer step gets skipped to save time and money.
Setting Yourself Up for a Floor That Actually Lasts
Every mistake above shares a common thread: the problem is invisible at installation time but becomes obvious - and expensive - months later. The good news is that most subfloor prep steps are manageable for a moderately experienced DIYer with the right tools and information.
Permits May Be Required for Subfloor Replacement
In some jurisdictions, replacing significant areas of subfloor - or any work touching structural joists - requires a building permit and inspection. Requirements vary by location and project scope. Check with your local building department before starting work to ensure you're in compliance with local codes.
Before starting any flooring project, walk the entire subfloor and note every squeak, soft spot, bounce, or visible stain. Use a long straightedge or level to map high and low areas. Rent a moisture meter from a hardware store and test multiple points across the room - especially near exterior walls, under windows, and around plumbing fixtures. Address every finding before the first plank or tile goes down.
When damage looks structural - widespread rot, sagging joists, or large sections of delaminated plywood - bring in a licensed contractor to assess before proceeding. Attempting to floor over structural compromise is never a DIY shortcut worth taking. Just as neglected gutters can quietly cause foundational damage over time (see what skipping gutter cleaning actually causes), ignored subfloor problems compound silently until they're unavoidable. Doing the prep right the first time is the only strategy that reliably saves money in the long run.
This article is for general informational purposes only. Always verify local building codes, permit requirements, and consult a licensed contractor for structural or hazardous work before beginning any flooring project.