

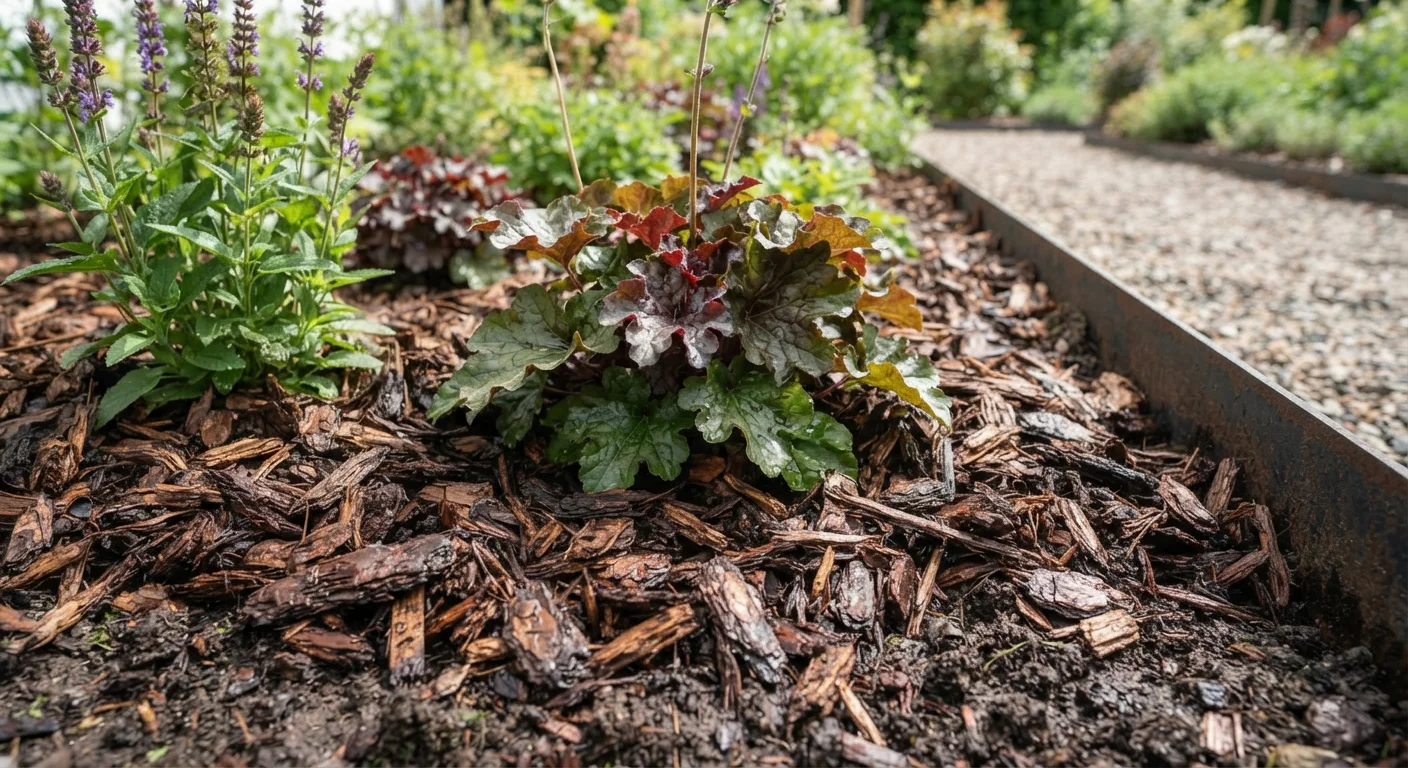
Key Takeaways
- Apply mulch 2-4 inches deep - too little fails to suppress weeds, too much suffocates roots.
- Keep mulch pulled back 2-3 inches from plant stems and tree trunks to prevent rot and pest damage.
- Timing matters: mulch in late spring after soil warms, or in fall to insulate roots before frost.
- Organic mulches like shredded bark or wood chips improve soil structure as they break down over time.
- Refresh mulch annually rather than piling new layers on top of old compacted material.
Why Mulching Technique Matters More Than Material
Mulch is one of the most cost-effective tools in a homeowner's garden toolkit. A well-applied layer conserves soil moisture, moderates temperature extremes, suppresses weed germination, and - for organic types - slowly feeds soil biology as it decomposes. What most gardening guides gloss over, however, is that poor application technique can cancel every one of those benefits and even introduce new problems.
Piling mulch too thick, placing it flush against stems, or applying it at the wrong time of year are among the most common errors homeowners make. Understanding the reasoning behind best practices - not just the rules themselves - helps you apply them consistently across different plants and seasons.
If you're also rethinking your overall yard care approach, see our guide to lower-maintenance lawn alternatives for a broader cost perspective.
Getting the Depth Right: The 2-4 Inch Rule
Depth is the single most important variable in mulching. The widely recommended range of 2 to 4 inches is backed by decades of extension service research and practical observation:
- Less than 2 inches allows weed seeds to germinate and sunlight to reach the soil surface, negating the primary suppression benefit.
- More than 4 inches creates an anaerobic (oxygen-deprived) layer that can prevent rainwater from reaching roots, encourage surface rooting, and promote fungal disease at the soil line.
Fine-textured mulches like shredded leaves or grass clippings mat together more easily, so aim for the lower end of that range - around 2 inches - to maintain airflow. Coarser materials like wood chips or pine bark can handle 3 to 4 inches without compacting as readily.
For a practical pairing, mulching works alongside good soil enrichment habits. Our article on composting at home explains how organic matter - including decomposing mulch - improves soil structure over time.
Timing: When to Mulch for Maximum Benefit
Mulch applied at the wrong moment can lock problems into your garden rather than prevent them. Follow these seasonal guidelines:
- Late spring (after the last frost, once soil has warmed): Mulching too early in spring keeps cold soil from warming up, which delays root activity and slows plant establishment. Wait until daytime soil temperatures are consistently above 55°F before applying.
- Fall (before the first hard frost): A mulch layer applied in mid-to-late fall insulates root zones from freeze-thaw cycles that heave perennials out of the ground. Clear away winter mulch in stages as temperatures rise in spring.
Avoid mulching during drought conditions without watering first - dry soil under mulch stays dry, and the mulch barrier then works against you. This connects to a broader principle: common watering mistakes and mulching errors often compound each other.
Placement Errors That Quietly Damage Plants
Even with the right depth and timing, where you place mulch determines whether it helps or harms. The two most damaging placement errors are:
Volcano Mulching Around Trees
Mounding mulch into a cone against a tree trunk - colloquially called "volcano mulching" - is one of the most widespread and damaging mulching habits. Constant moisture against bark breaks down protective tissue, invites fungal pathogens, and creates habitat for rodents that gnaw on the cambium layer beneath the bark. Always leave a 2-3 inch gap between the mulch and the trunk flare, and spread the mulch outward in a flat, donut-shaped ring instead.
Mulching Too Close to Annual and Perennial Stems
The same rot-and-pest logic applies to flowering plants and vegetables. Pull mulch back from stems so air can circulate at the base. For newly transplanted seedlings, this gap is especially critical in the first few weeks while roots establish.
For more context on building healthy garden beds from the ground up, our raised beds vs. in-ground planting comparison outlines how bed structure affects drainage and mulching decisions.